Until now I’ve been using Visual Studio Code as my primary code editor because I try different Linux distributions on my laptop and VSCode is available by default in almost every application manager. When I open a new project, the VSCode suggests relevant extensions based on the tech stack.
After hearing the praises for Neovim from Primeagen and TJ DeVries I decided to give it a go along with other command line utilities like tmux and lazygit to test if they optimize my development workflow.
I use vim motions in all workflows related to text whether it is writing code in VSCode (using VIM Plugin) or my journal in Obsidian. I also use vim occasionally to perform quick edits on configuration files while I’ve SSH into a remote machine.
I have configured key bindings to navigate inside VSCode and throughout my system. Thus, adapting to a terminal and key binding-focused workflow won’t be difficult.
Terminal: Kitty

Source: sw.kovidgoyal.net
I have provisioned a Fedora 38 virtual machine on my homelab as a persistent development environment. On it, I use kitty as my terminal emulator because it is lightweight and it could be configured by a single file ~/.config/kitty/kitty.conf.
Installation
kitty is available as a dnf package by default in Fedora.
sudo dnf install kitty
Configuration
I have made the following changes to the default kitty configuration (kitty.conf)
- Changed font family to JetBrains Mono.
font_family        JetBrainsMonoNF-Regular
bold_font          JetBrainsMonoNF-Bold
- Font size changed to 16
font_size 16.0
- Changed cursor for aesthetics
cursor_shape beam
cursor_beam_thickness 10.0
cursor_blink_interval -1
- Changed mouse cursor hiding time to 2 seconds
mouse_hide_wait 2.0
- Enabled URL detection so that I visit them directly from my terminal
detect_urls yes
- Configuring copy on selection to send it directly to the clipboard. It’s useful when I have to quickly share a command’s output with someone else.
copy_on_select clipboard
If you want to test your kitty configuration changes then it might be useful to change the default key binding for reloading configuration to be something more accessible like Ctrl+f5.
map ctrl+f5 load_config_file
Shell: ZSH
![]()
Source: Zsh-art/logo
I use zsh along with oh-my-zsh because of its aesthetics and the git information displayed on its prompt.
Installation
- Installing
zsh
sudo dnf install zsh
- Changing default shell to
zsh
chsh -s $(which zsh)
- Logout and log back in with the same user
- Installing Oh-My-Zsh
sh -c "$(curl -fsSL https://raw.github.com/ohmyzsh/ohmyzsh/master/tools/install.sh)"
- Add path to your
oh-my-zshconfiguration in~/.zshrc
export ZSH=$HOME/.oh-my-zsh
Configuration
I have performed the following edits on my ~/.zshrc file
- Changed the
zshtheme tobureauin the~/.zshrcfile
ZSH_THEME="bureau"
- Installed the
zsh-autosuggestionsplugin
git clone https://github.com/zsh-users/zsh-autosuggestions ${ZSH_CUSTOM:-~/.oh-my-zsh/custom}/plugins/zsh-autosuggestions
- Installed the
zsh-syntax-highlightingplugin
git clone https://github.com/zsh-users/zsh-syntax-highlighting ${ZSH_CUSTOM:-~/.oh-my-zsh/custom}/plugins/zsh-syntax-highlighting
- Enabled plugins in
~/.zshrc
plugins=(
    git
    zsh-autosuggestions
    zsh-syntax-highlighting
    docker
)
You can load your zsh configuration using the source command.
source ~/.zshrc
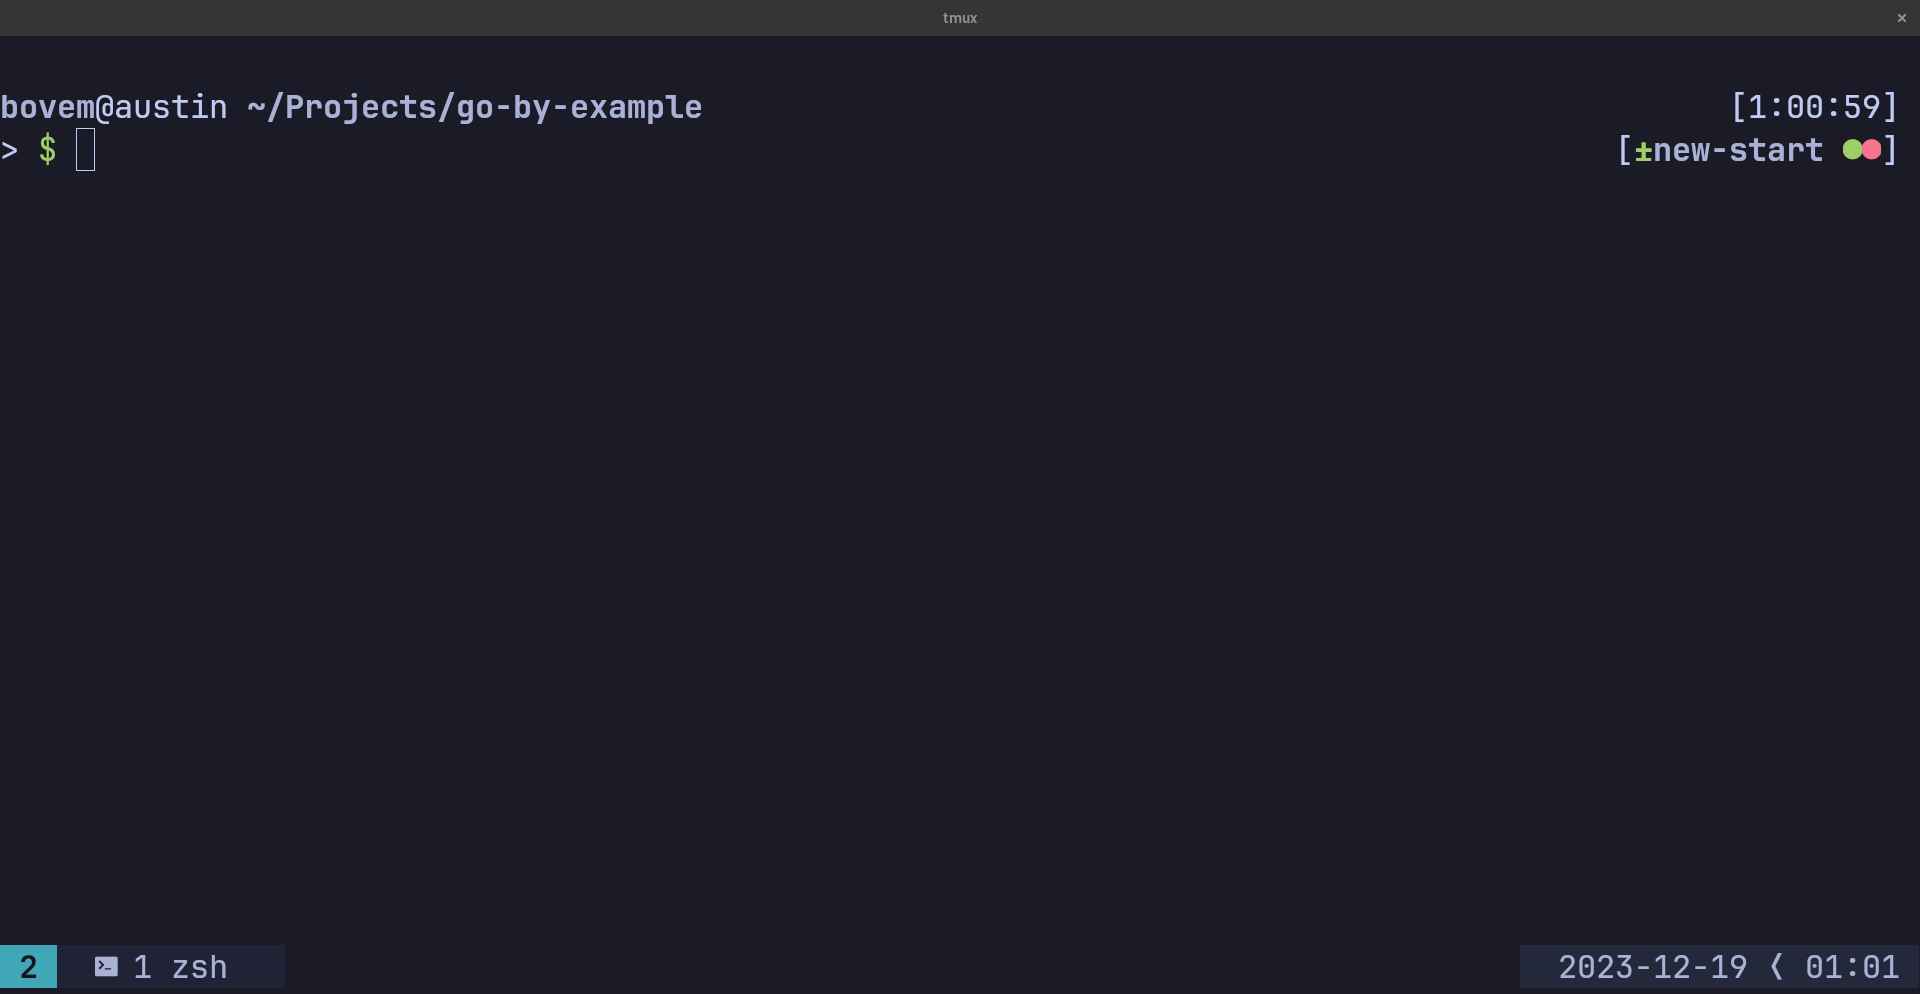
Terminal Multiplexer (tmux)
![]()
Source: tmux wiki
tmux allows me to run multiple terminal sessions that could be detached (sent to background) and reattached upon requirement. I use it to maintain persistent terminal sessions across multiple SSH clients.
Installation
sudo dnf install tmux
Configuration
Here are some changes I’ve made to ~/.config/tmux/tmux.conf.
- Changed the prefix key combination from
Ctrl+BtoCtrl+Spacebecause it is more ergonomic for me.
unbind C-b
set -g prefix C-Space
bind C-Space send-prefix
- Enabled mouse support because I want more control over window resizing.
set -g mouse on
- Set base index for windows to 1
set -g base-index 1
set -g pane-base-index 1
set-window-option -g pane-base-index 1
set-option -g renumber-windows 1
- Added some custom key bindings for creating and switching between windows
bind -n C-y previous-window
bind -n C-o next-window
bind | split-window -h -c "#{pane_current_path}"
bind _ split-window -v -c "#{pane_current_path}"
- To install plugins for
tmuxI have installed tmux plugin manager ortpm
set -g @plugin 'tmux-plugins/tpm'
and added this line at the end of tmux.conf
run '~/.tmux/plugins/tpm/tpm'
Here are some of the plugins I’ve installed for tmux
- tmux-sensible: Helps me set custom key bindings for my workflow
- vim-tmux-navigator: Enables window navigation using vim keys (
h,j,k,l) - tmux-resurrect: Using this I can save and restore my tmux sessions across reboots. I might switch to tmuxifier to define my tmux sessions in a file rather than saving and reloading them.
- tmux-yank: To copy text from tmux directly to the system’s clipboard.
To load your tmux configuration changes you can use the source command
source ~/.config/tmux/tmux.conf
and to install plugins you have to use keybinding Ctrl+Space,i.
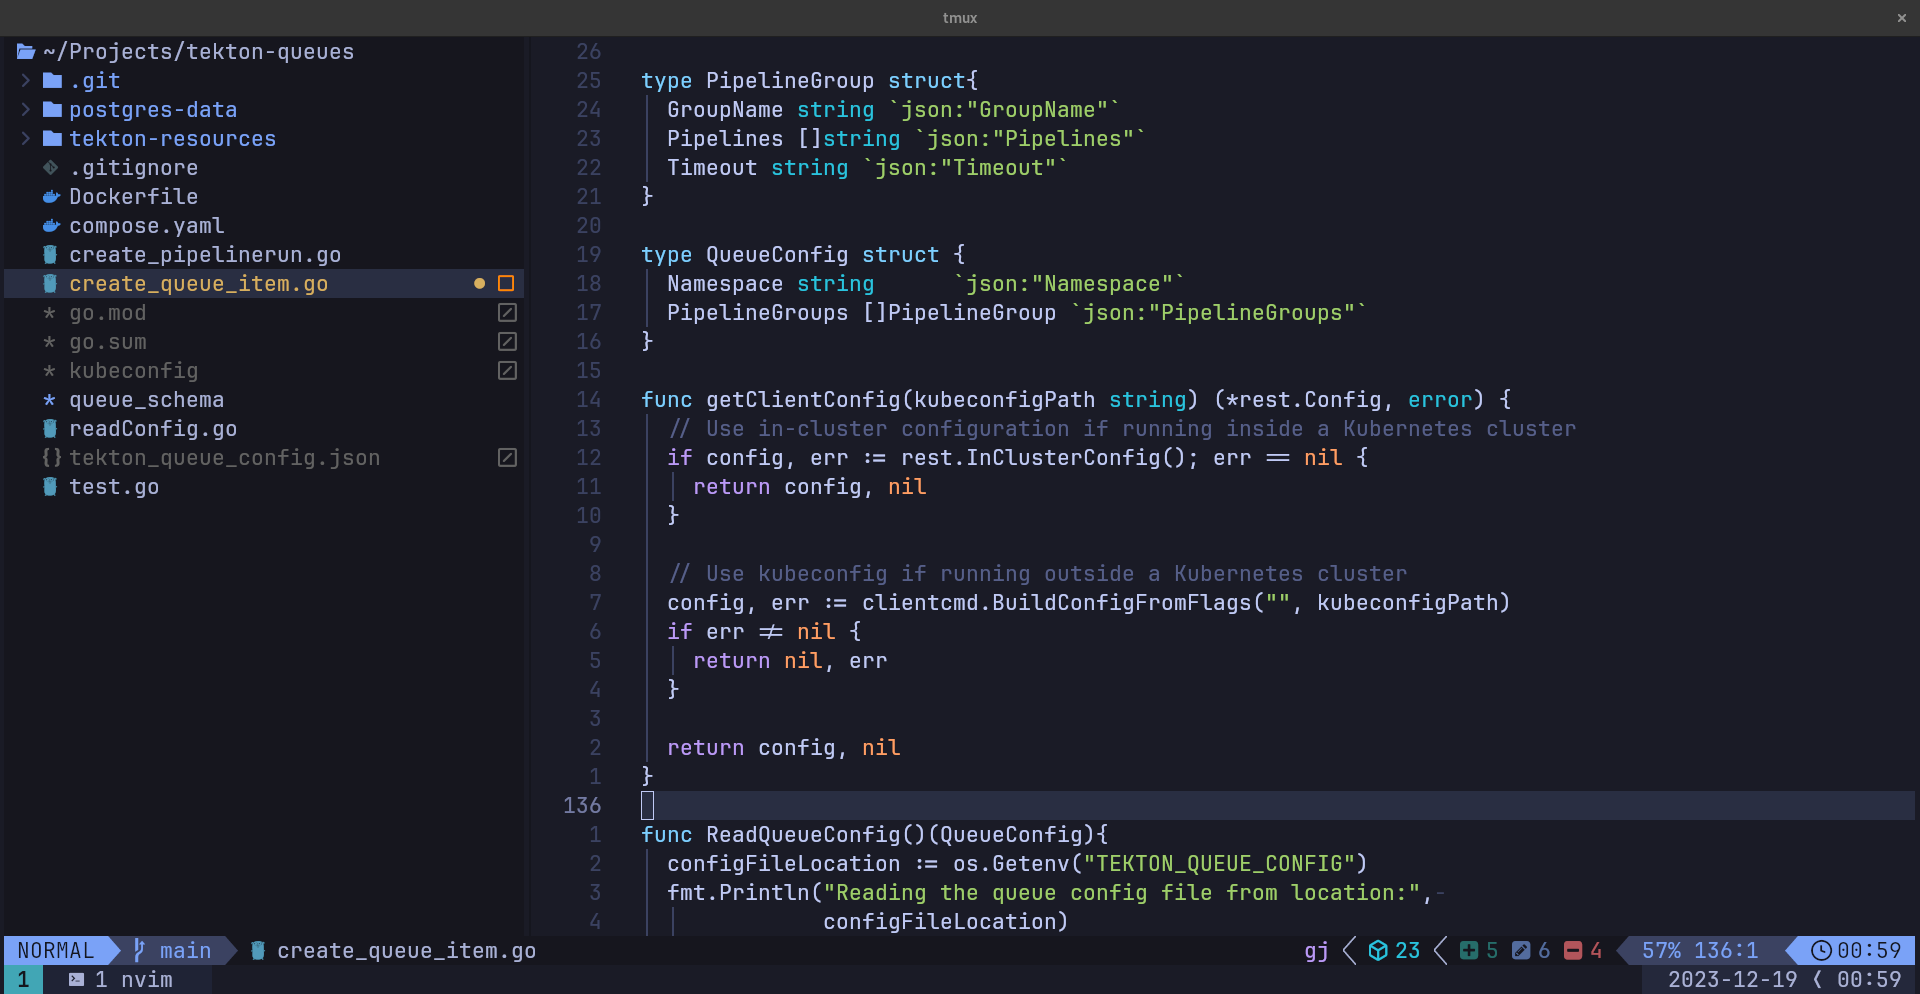
Code Editor: Neovim (LazyVim)
![]()
Source: neovim.github.io
Neovim is a fork of VIM that could be used as a base to develop a Personalized Development Environment (PDE). It has multiple distributions but the one I’m using is LazyVim, a minimalist configuration for Neovim. It’s a distribution alternative to kickstart.nvim configuration.
Installation
sudo dnf install neovim
Configuration
To install LazyVim follow the guide at lazyvim.org. I’ve made the following changes to LazyVim’s default configuration
- Toggled visibility of hidden files and folders in neo-tree (
~/.config/nvim/lua/plugins/neotree.lua)
return {
  "nvim-neo-tree/neo-tree.nvim",
  opts = {
    filesystem = {
      filtered_items = {
        visible = true,
        hide_dotfiles = false,
        hide_gitignored = true,
      },
    },
  },
}
- Configured
vim-tmux-navigatorkey bindings (~/.config/nvim/lua/plugins/vim-navigator.lua)
return {
  "christoomey/vim-tmux-navigator",
  keys = {
    { "<C-\\>", "<cmd>TmuxNavigatePrevious<cr>", desc = "Go to the previous pane" },
    { "<C-h>", "<cmd>TmuxNavigateLeft<cr>", desc = "Got to the left pane" },
    { "<C-j>", "<cmd>TmuxNavigateDown<cr>", desc = "Got to the down pane" },
    { "<C-k>", "<cmd>TmuxNavigateUp<cr>", desc = "Got to the up pane" },
    { "<C-l>", "<cmd>TmuxNavigateRight<cr>", desc = "Got to the right pane" },
  },
}
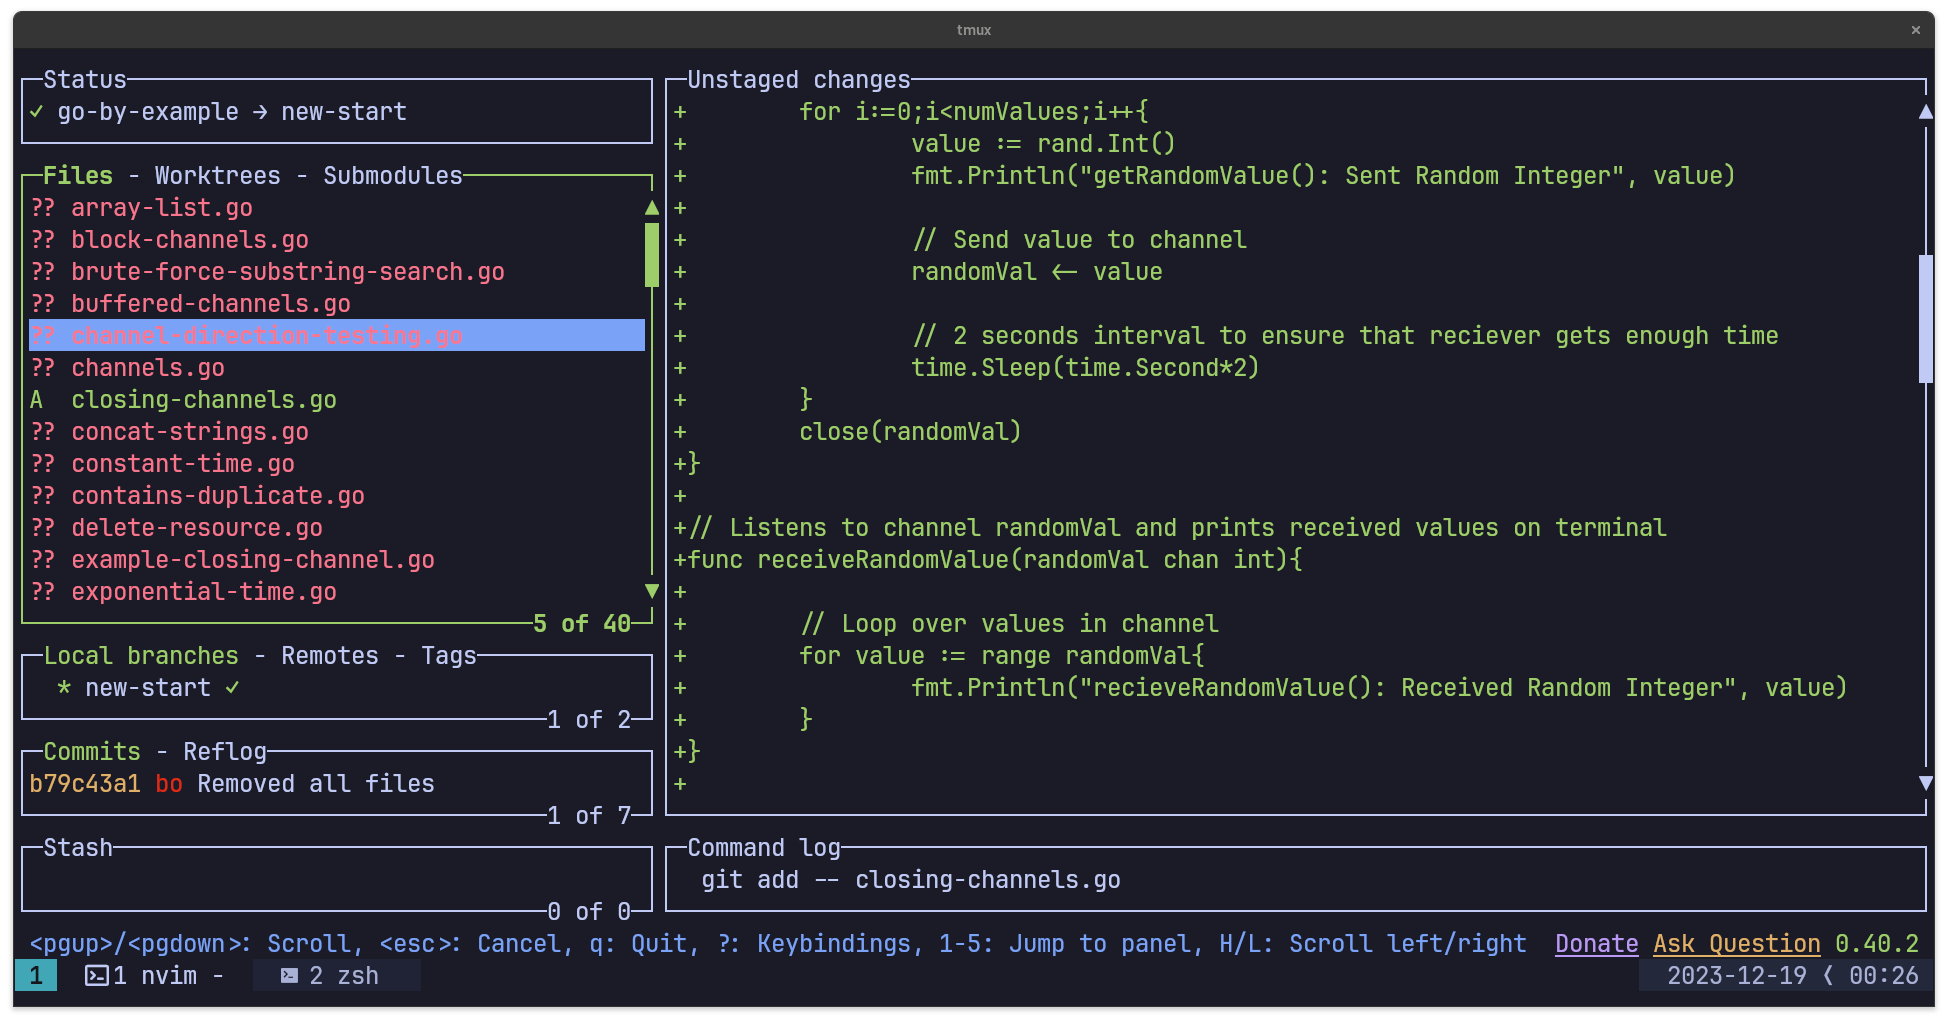
Git Client: lazygit

Source: jesseduffield/lazygit
I like the Source control pane in the VScode and it has been my go-to client for all git operations. Going through my changes in the source control window allows me to review them before I commit to my repository. I opted for lazygit as its alternative.
Source Control Pane in VSCode Sidebar
In its primary window, the lazygit has an overview of changes performed after the last commit. It could be accessed directly from the Neovim using the key binding Space,g,g.
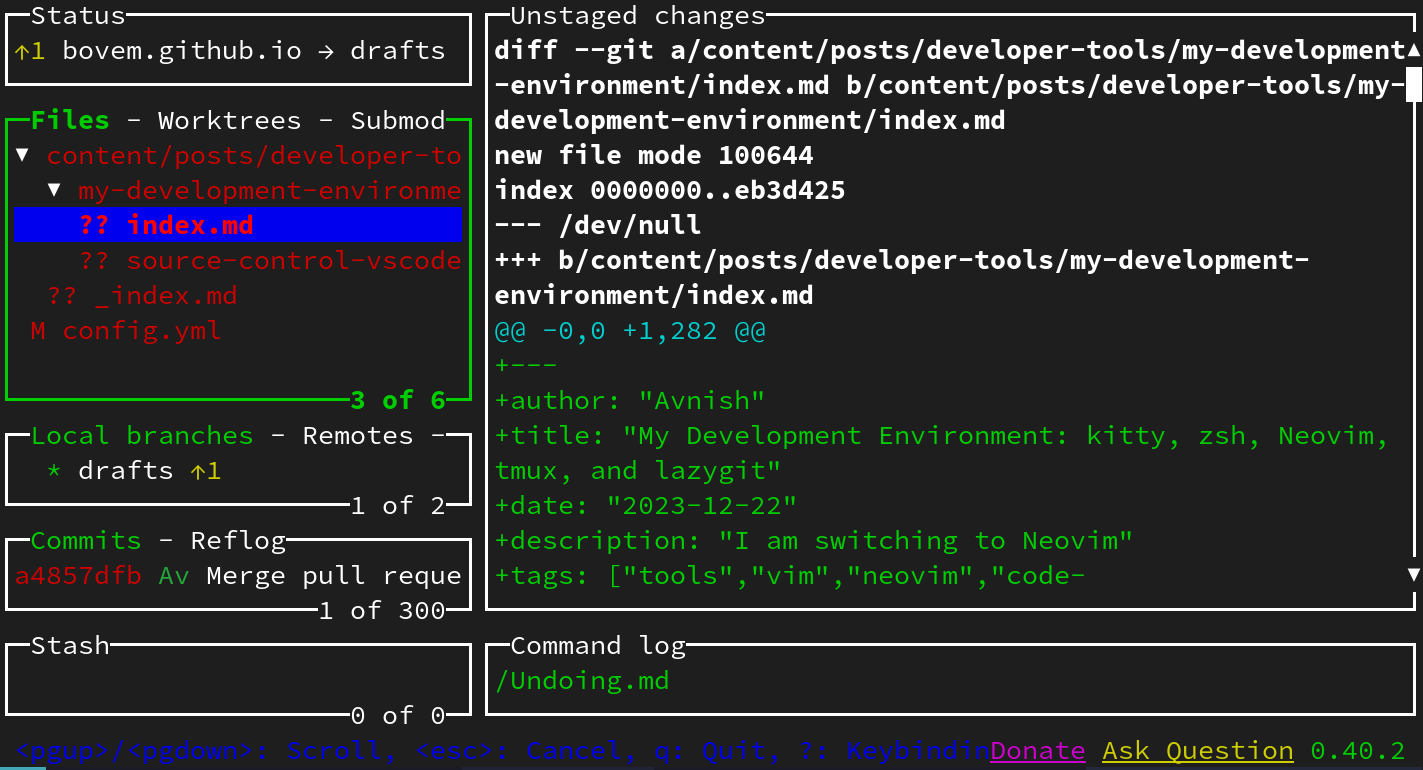
Lazygit Window
I can perform git operations using a single button inside the lazygit window
- Stage all files:
a - Stage current file:
Space - Commit all staged changes:
c - Pull changes to remote:
p - Push changes to remote:
P
Installation
To install lazygit in Fedora I had to add its Copr repository
sudo dnf copr enable atim/lazygit -y
sudo dnf install lazygit
Theme: Tokyo Night
On kitty, Neovim, and tmux I am using the Tokyo Night theme. The theme configuration for all of them is available at folke/tokyonight.nvim.
Terminal
Terminal Multiplexer (tmux)
Text Editor
UI for Source Control
All of my configuration files are available at bovem/dotfiles.
Thank you for taking the time to read this blog post! If you found this content valuable and would like to stay updated with my latest posts consider subscribing to my RSS Feed.
Resources
Visual Studio Code
VIM Plugin for VSCode
Obsidian
kitty terminal emulator
zsh
oh-my-zsh
JetBrains Mono
tmux
tmux plugin manager
tmux-sensible
vim-tmux-navigator
tmux-resurrect
tmuxifier
tmux-yank
Neovim
Lazyvim Installation Guide
folke/tokyonight.nvim